Building
Paper kite
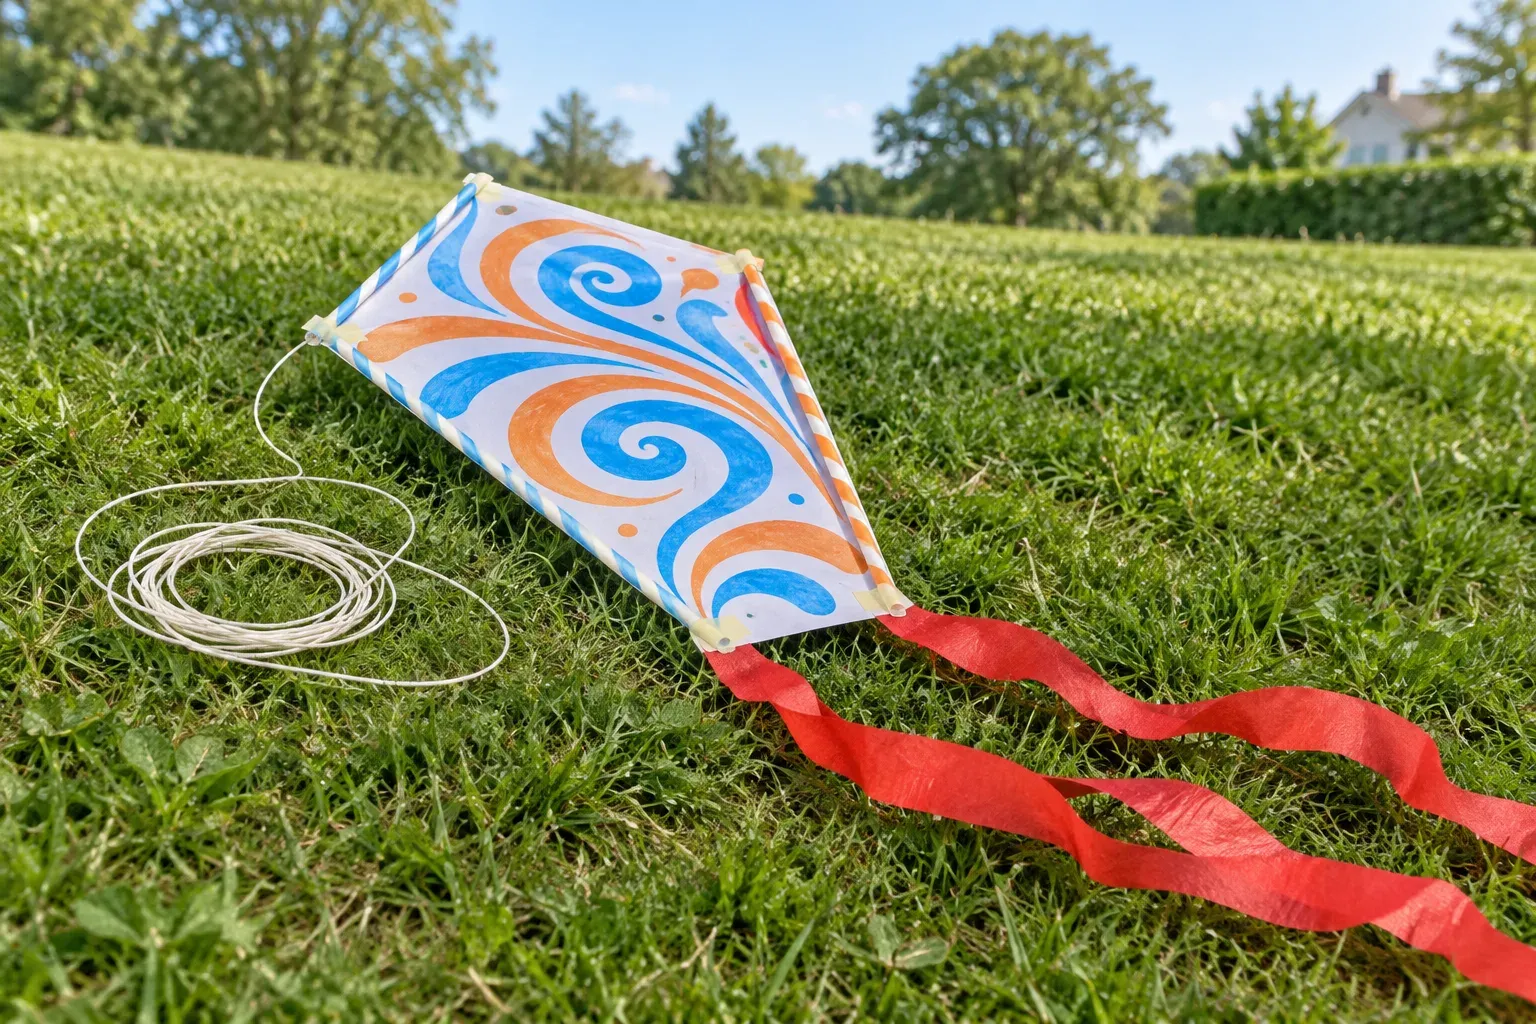
Make a sled kite from paper and two straws, tie on a short string, and fly it in a breeze.
- Age
- 4 to 6 years
- Play time
- 40 min
- Set-up
- 5 min prep
- Where
- Indoors or outdoors
- Who
- Any number of kids
- Clean-up
- Low mess
A homemade kite that actually flies feels like a magic trick to a five-year-old. This sled design needs nothing fancy, and on a gentle breeze it lifts off from a short run. On a still day, racing around the park with it fluttering behind still counts as a win. Strong wind tears paper kites quickly, so choose a mild afternoon, and expect a second kite to be ordered on the spot.
This shape is known as a sled kite, sticky tape is Scotch tape in the US, and wool is yarn.
How to play
-
Let your child decorate one side of a sheet of A4 paper with felt tips, then lay it decorated side down, long edges running top to bottom.
-
Tape a drinking straw along each long edge, about 2 cm in from the side, running from top to bottom.
-
On each long edge, about a third of the way down, stick a square of tape and punch a hole through it about 1 cm from the edge.
-
Tie a piece of string about 60 cm long between the two holes. Tie the flying string, about 3 metres long, to the exact middle of that piece.
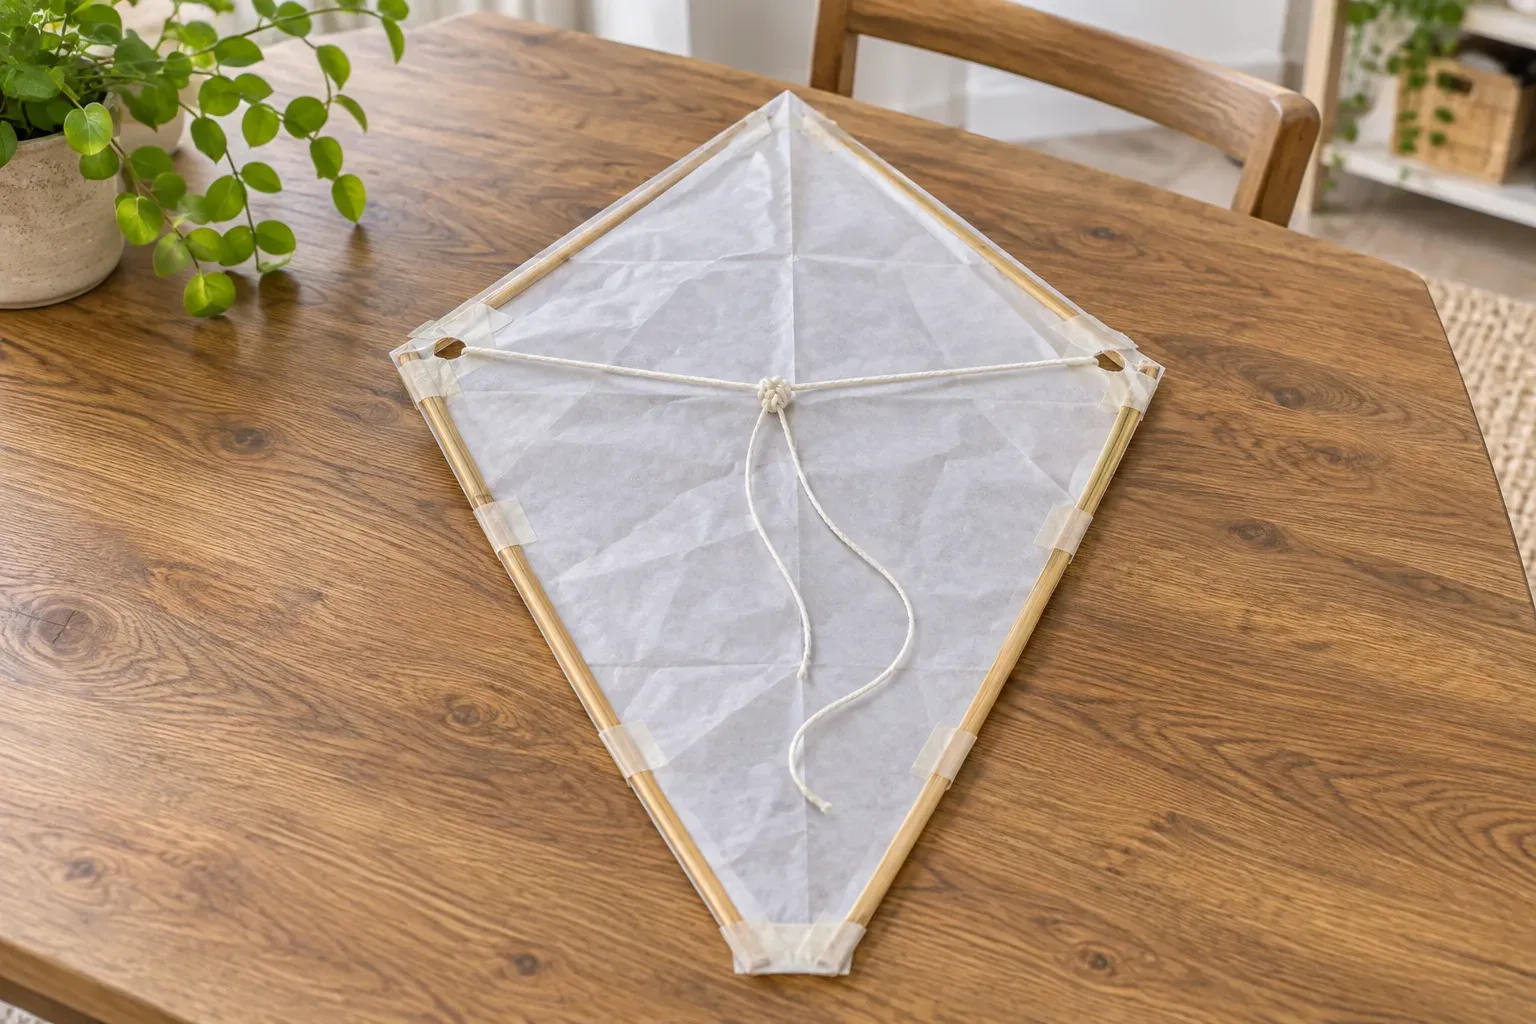
Tie the flying string to the middle of the bridle -
Tape two or three strips of crepe paper about a metre long to the bottom edge as a tail.
-
Head to an open space on a breezy day. Let your child hold the string, stand with their back to the wind, and let it out slowly as they walk.
What you need
- A4 paper
- two drinking straws or thin garden sticks
- sticky tape
- string or wool
- crepe paper or ribbon for a tail
- hole punch or pencil
- scissors
- felt tips
Don't have it?
- No straws? Long lolly sticks taped end to end, or thin garden canes, work as spars.
- No crepe paper? Strips of newspaper or ribbon make a tail.
Stay close
Fly kites in open spaces away from roads, trees and power lines, and never wrap the string around wrists or fingers. Scissors and the hole punch are adult jobs.
What they are practising
- fine motor. Taping straws on straight and decorating the paper take careful handling.
- gross motor. Walking and running with the string while watching the kite overhead use the whole body.
- problem solving. When the kite spins or drops, they try a longer tail or a different spot in the wind.
Make it easier
For a four-year-old, do the punching and tying yourself, let them decorate and tape on the tail, and hold the string together for the first flight.
Make it harder
A six-year-old can test different tail lengths, or a bigger sheet of paper, to see which version flies best.
Parents ask
- Why won't it fly?
- Usually the air is too still or too gusty, or the flying string is not tied at the exact middle of the bridle. A longer tail also steadies a kite that spins.
- How long should the flying string be?
- About three metres is plenty for four- to six-year-olds. Longer string tangles quickly and is harder to manage.
- Will it survive rain?
- Not really. Paper goes soggy fast, so save it for a dry, breezy afternoon and make a fresh one next time.
Find more like this
4 year olds5 year oldsIndoorsOutdoorsLow messBuildingWith tapeWith paper